Refine a project
Make room for one more idea.
Written for 1.0.0-preview.8. Available download: 1.0.0-preview.8 · Public preview.
Start with an existing Stud project, such as the workbench from the first tutorial. This guide changes the shelf clearance without losing the original design.
1. Inspect the part you want to change
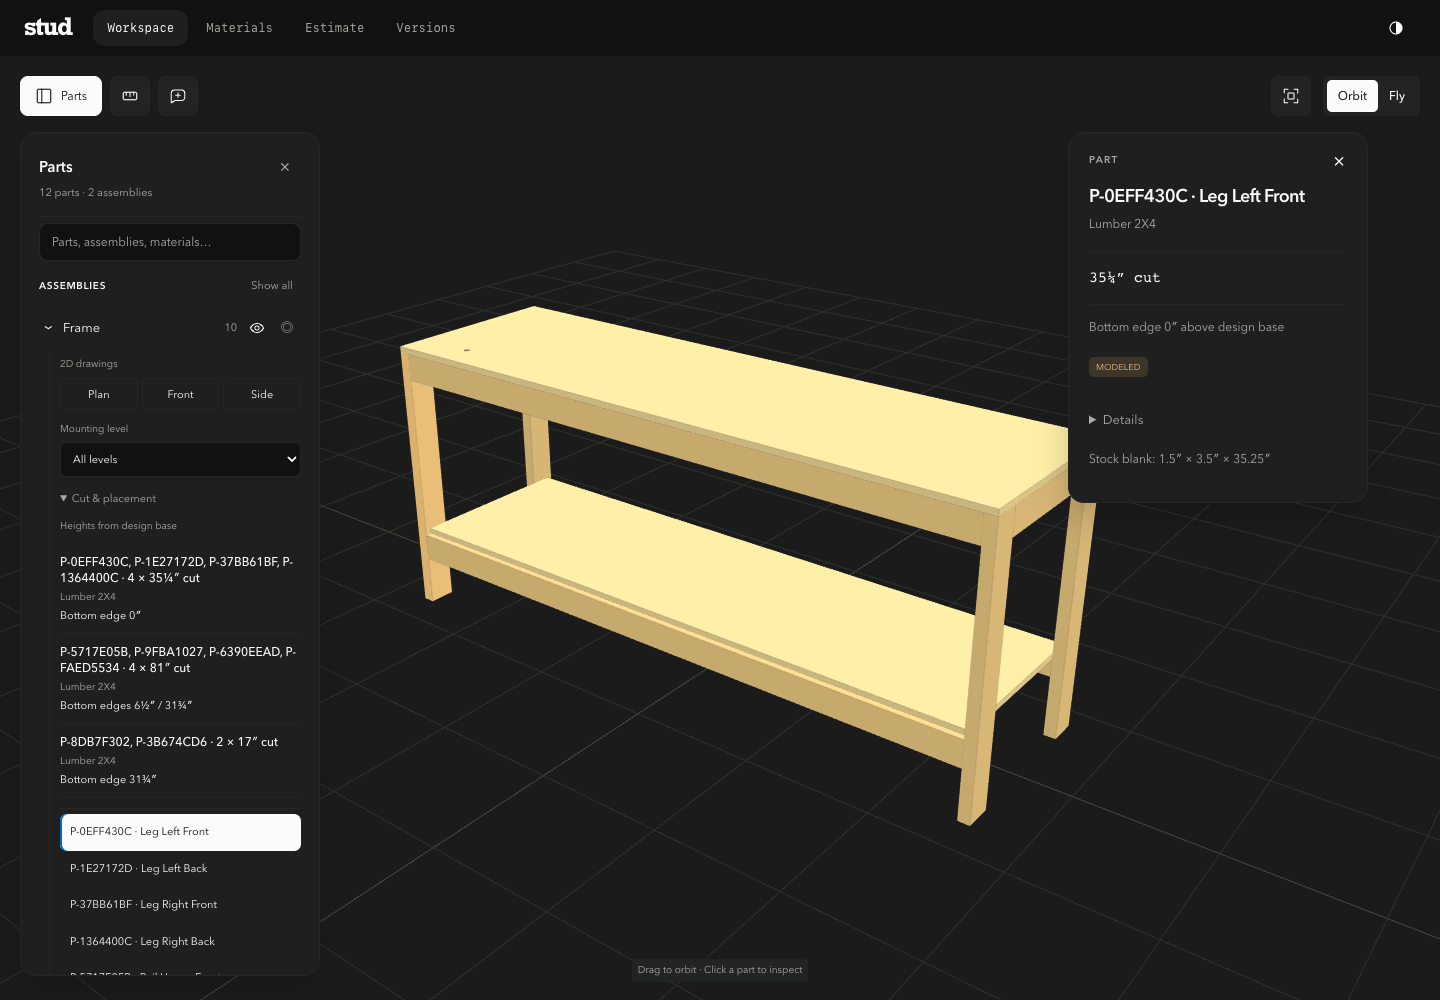
Open the project’s viewer and click a shelf or frame part. Use the part name from the inspector in your request. This is more precise than saying “move that piece.”
2. State the constraint
Measure the object that needs to fit, including handles or wheels. Tell the agent which dimensions must stay fixed:
My toolbox is 18 inches tall. Revise this workbench so there is at least 19 inches of clear space above the lower shelf and below the nearest obstruction. Keep the overall height, width, and depth unchanged. Save this as a checkpoint and explain what changed.
3. Review the actual clearance
Orbit to the front and inspect the shelf and nearby framing. Ask the agent to measure the smallest usable clearance, not just the distance between two surfaces that happen to be convenient.
Measure the clear space for the toolbox, including the frame under the worktop. Show which parts limit the opening, and check the shelf’s declared support requirements.
If the design did not rebuild, the viewer may retain the last good model. Ask the agent to resolve the build error before evaluating the proposed change.
4. Compare and keep the version you prefer
Open Versions to review saved checkpoints and their estimates. Compare the revised design with the original. If you prefer the earlier design, restore it through Versions; Stud creates a new checkpoint while keeping the review history.
Compare the original bench with the toolbox-clearance revision. Summarize the changes in dimensions, material quantities, and estimated cost. Identify any prices that are still missing.
For a later review, add a comment to the relevant part using the viewer’s comment control, then ask your assistant to read your comments. A comment records feedback; ask explicitly for the design revision you want.